


How many times you’ve had to boot it quickly your GNU / Linux with you but you have no support? Well, if you’ve ever read on this guide, I will explain how to start a distribution Live with your phone Android.
Everything we need is:
- Android smartphone
- DriveDroid App
- USB cable
- Root
- Computer with BIOS enabled to support USB drives
We are assuming you have already met the requirements requested above.
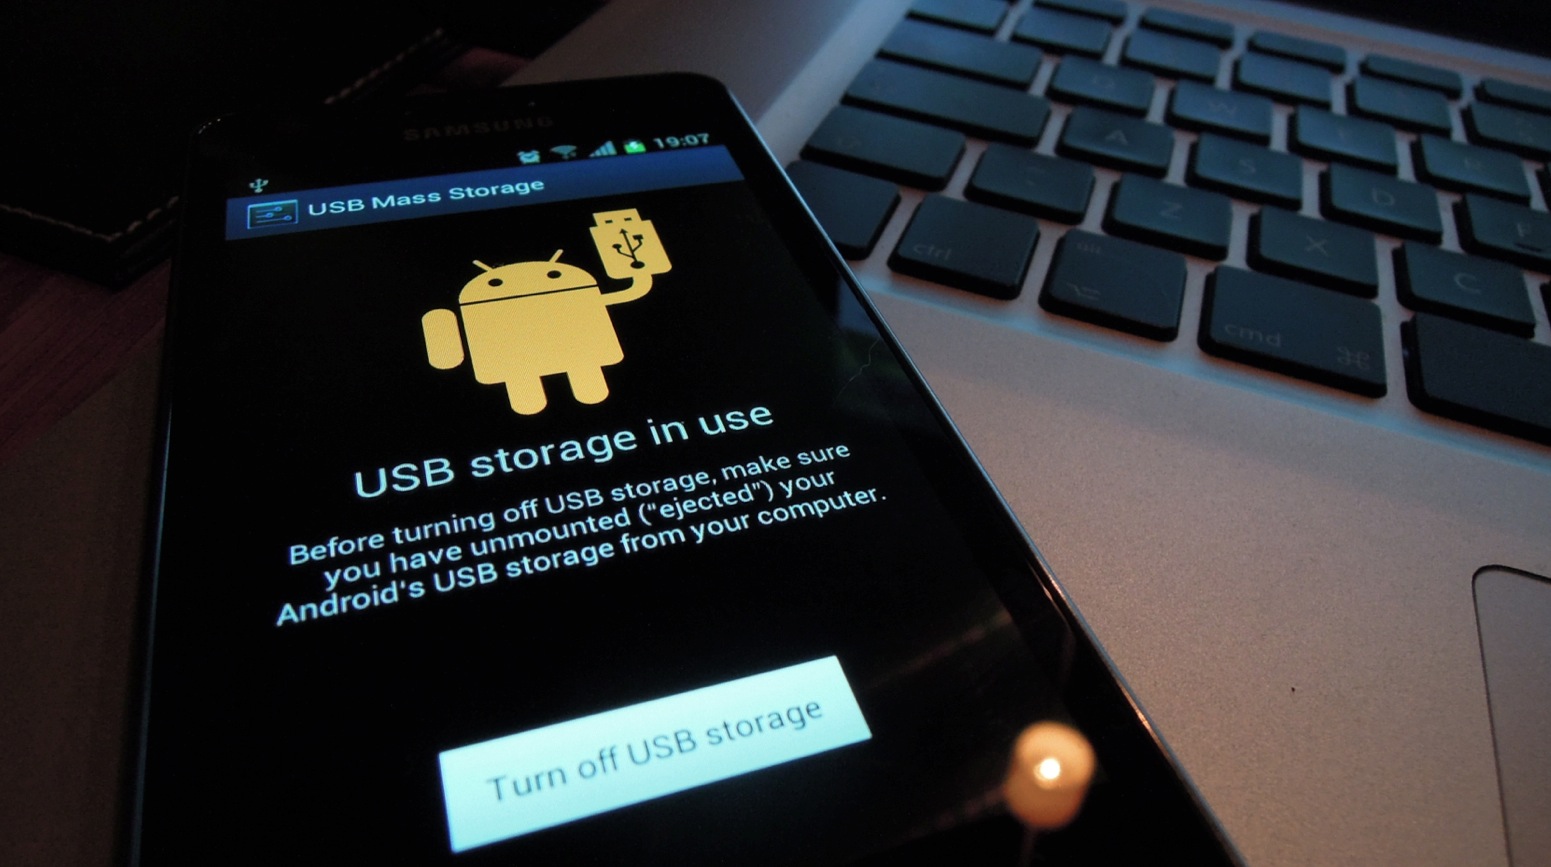
Image Source: Google Image
First, let’s see a *dialog window that asks us whether to skip the setup or proceed, we decide to proceed, then we will ask once again confirmed in the next activity*. Then follows the Activity will be asked to take on the root permission, expect our managers ask us to ensure root permissions.
* Dialog: Dialog box, it’s usually a warning, or a request for interaction.Android in the dialog box is called from the Java class (specifically Android) Dialog, but we use the dialog even when we use the computer (Gtk.Dialog [GTK +], for example.)
* Activity: It is a page of an Android app, which is divided into several pages, each Activity has its own context and its own design
Connect the PC to the smartphone and confirm when asked, so go ahead, there appears a notice which specifies that not all devices work and not all methods work … But we will try the same so go ahead.
Standard and choose Android as USB method.
Now we have to set the BIOS * (I have UEFI), so in my case just turn on the PC, I have to press F2, in your case, the key can be different.
* BIOS: program that contains all the important data on your computer, is responsible for loading the boot loader, which then in turn will load everything else.
So let’s move to the item that refers to the “Boot” and F6 (in my case) we move the primary device as Samsung […] (ranging from smartphone to smartphone).
So, if you can see Samsung […] somewhere, then it means that we were able to set DriveDroid, then confirm with “I see an USB drive, proceed”, or “I do not see any drive, try another USB system.” After setting the device as the primary device, reboot and you should see a bootloader background “DriveDroid”, if it were in the app choose “DriveDroid successfully booted, proceed. Otherwise the second entry that says the PC is powered up in the main OS. Then we shake down (last activity) and close the wizard.
Now just load the image we want from the “+” button in the * action bar at the bottom, then we can see that we can create our own image empty, download a file or download it from, we choose to upload, so presume * * have a GParted Live (a special Debian distribution for GParted) to file (simulation) then press the OK button in the top right action bar. We go back and we can see the “Deb GParted.” Now, since we do not have an image, bootiamo drivedroid.img, then click on the loaded image and choose whether the device will be “writable” or only “readable”. * ActionBar: action bar, from Android 4.x (or 3.x?) have been introduced in the ActionBar SDK, the bars that contain icons, or text, running something. Besides this show icon and name of the app. you ‘can get ActionBar at the top and bottom, now you just connect your phone to your PC and done!